Quick Start - Before you Go

This topic is part of the Studio Mapper Quick Start Guide.
This collection of tasks should be completed after Server
and Tablet Setup. It is important that you have access to a shared,
synchronized local folder containing the Studio Mapper Demonstration
Database before you continue.
Tasks to Complete Before you Go
In this section, you will go through some tasks typically completed before going to the face.
As time at the face is limited, commonly, these tasks are performed in advance at the office, maximizing the time for field data capture and minimizing disruption to operations.
The following tasks are covered in this section:
-
Create a working project in Studio Mapper
-
Create a base map and map properties
-
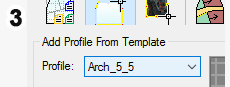
Add a standard drive profile to the base map

| Create a Base Face Map
For guidance on creating a base level map, see Create a Level Map. |
|||
|

|
|
|
|
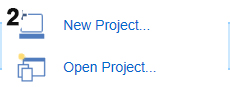
In the Mapping task bar, select the New Map icon to display the New Map dialog. |
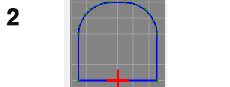
In this example, you're going to add a single front face map. Ensure the Map type is set to Face The default Width and Height of the map is fine (5x5m). Click OK to create the blank map. |
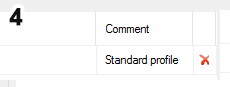
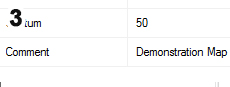
Review the Map Properties tab of the Mapping task bar. This displays the map-level attributes and orientation/georeference status of the map. At the bottom of the table, add a Comment: "Demonstration Map" and press <Enter>. |
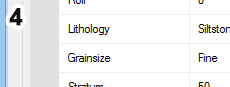
In this case, map-level data is available (this may not always be the case) so you can apply some general attributes. Select the following map properties using the controls in the Map Properties panel. Lithology: [Siltstone] Grainsize: [Fine] Stratum: 50 |
|
The Map type options in the New Map dialog are controlled by your configuration file. You might see other maps in your project that can be viewed later. These will have been added by other users of the database. |
The demonstration configuration files supports maps comprising one or more faces, say, to capture a partial or full heading. Your new map follows the naming convention in the demonstration configuration file, i.e. MapYYYYMMDD-n, where n is an incremented suffix. For a single-face map, the Depth value is not relevant. |
The new map'sGeoreferenced value is Local as the map has a 0,0,0 origin. Once georeferenced (later), this setting will change to World. The map has a default Azimuth, Dip and Roll of 0.
|
These attributes and lookup values are defined in your system configuration file. |